Job Page Explanation
This post will break down what information is located on each job page.
The Many Phases of a Job
The goal of the portal, is to facilitate the easy transition of jobs from one phase to another. Phases are typically marked by the Status of the job. A job starts at the NEW status, then transitions to PENDING, then to NEEDS_SCHEDULING, then ACTIVE, and finally COMPLETE.
In most cases, it takes just one button press to move each job to the next phase. The location of the button to put the job into the next phase will always be located under the todolist button at the top right of the job page:

When you click this button, it will show you a list of valid actions that you can take to move this job through to the next phase, as well as some helper buttons for easily interacting with the job:
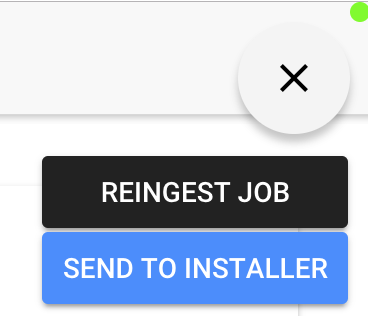
So, if you are confused by what needs to happen next for each job, try clicking the todolist button at the top right and looking at the list of options it gives you. That should at least point you in the right direction.
Job details
At the top of each job are the main job details:
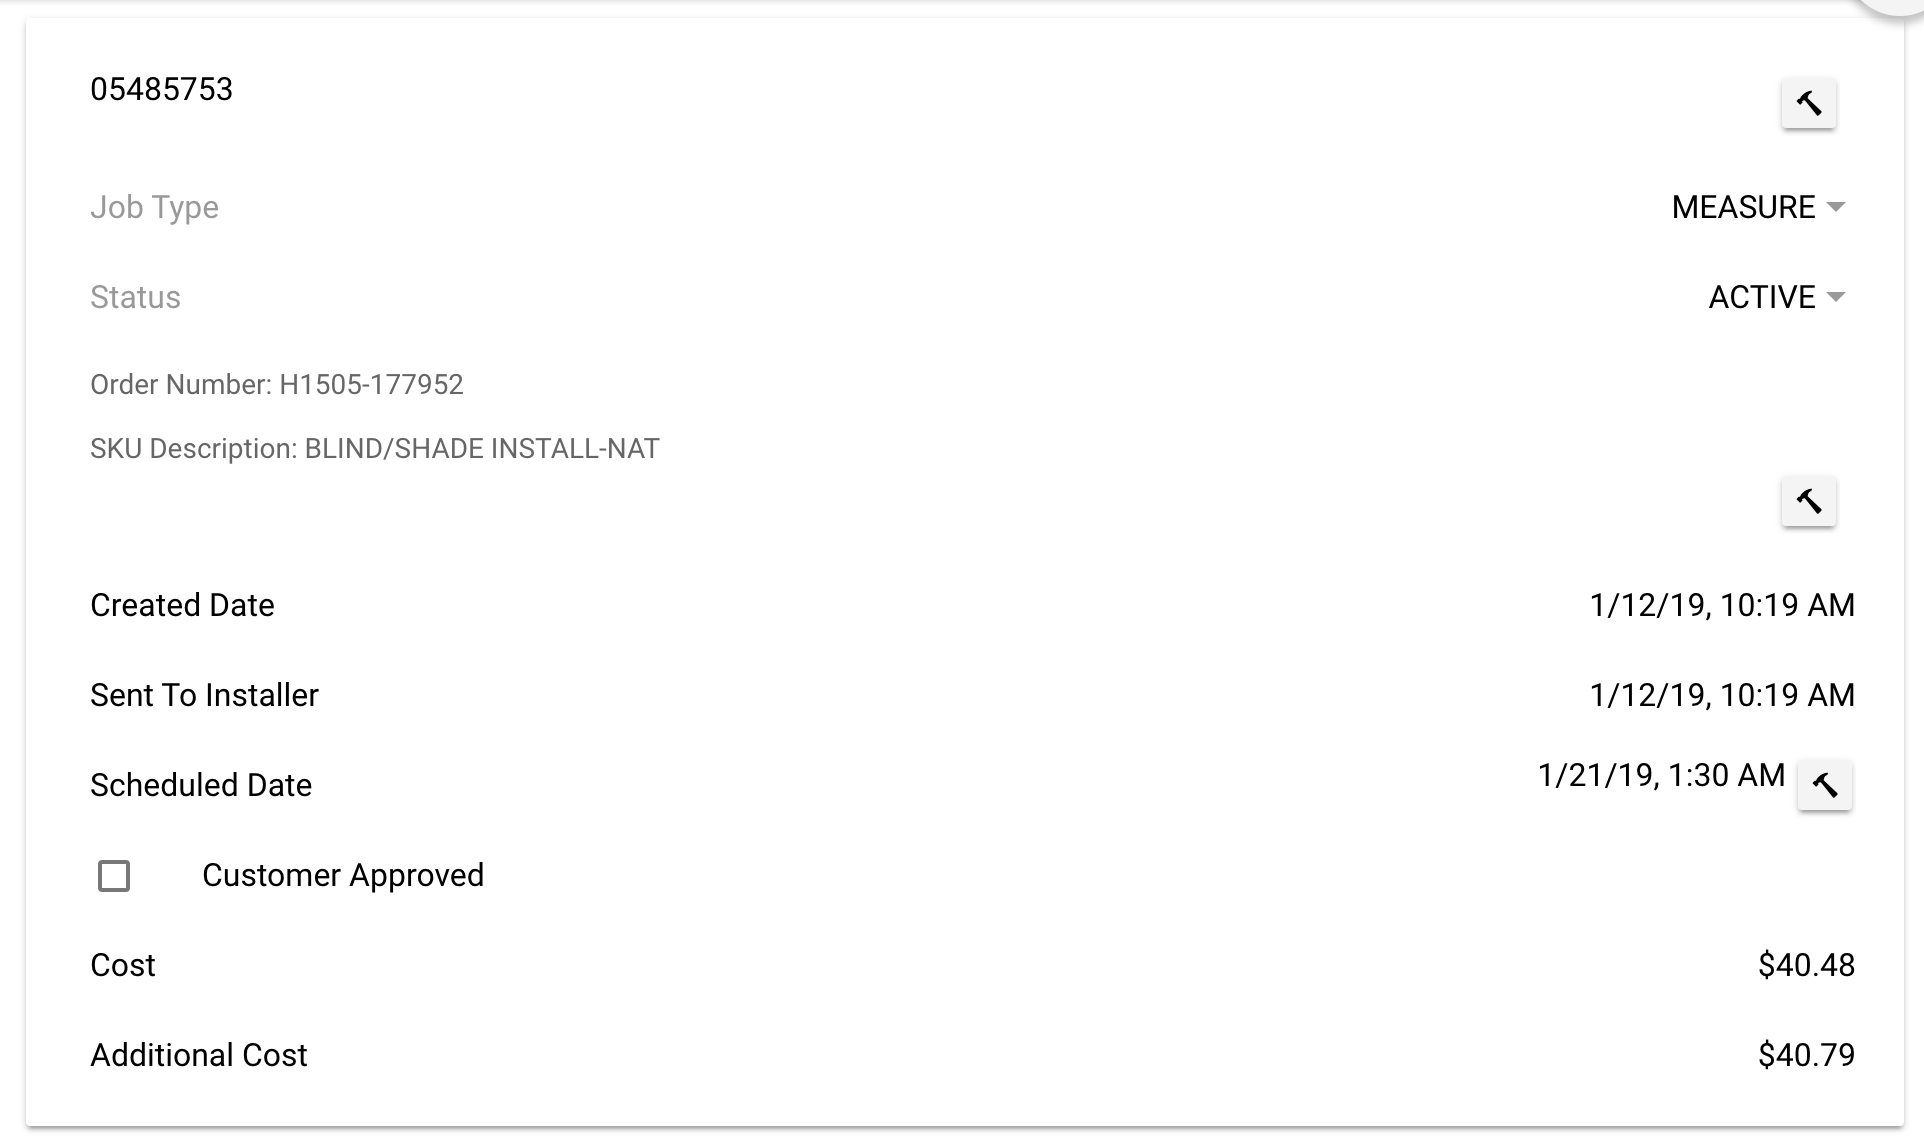
This area will show you all of the main job metadata.
- Job type will either be
MEASURE,INSTALL,TRIP, orREPAIR - Job status marks the current status the job is in
- The section directly under status is the job description, this section will sometimes be blank, and other times will contain some info about the job.
- The next section will show all of the relevant dates for this job such as, when it was created, scheduled, completed, etc.
- If the customer approval box is checked, it means that this job has a customer signature attached to it.
- The cost section will list out the payment price for each job (only for Admins).
![]() It is worth noting that as an Admin, you can manually edit all of these fields. But with great power, comes great responsibility. For the most part, you should only be manually editing these fields if you need to force a job into a specific state. For instance, the portal incorrectly marked this job as an
It is worth noting that as an Admin, you can manually edit all of these fields. But with great power, comes great responsibility. For the most part, you should only be manually editing these fields if you need to force a job into a specific state. For instance, the portal incorrectly marked this job as an INSTALL instead of a TRIP. That would be a valid reason to manually edit the job type to be TRIP. Just be very careful editing the fields in this section manually. They will update themselves when you use the todo actions under the todolist button.
Client details
This is the client details section:
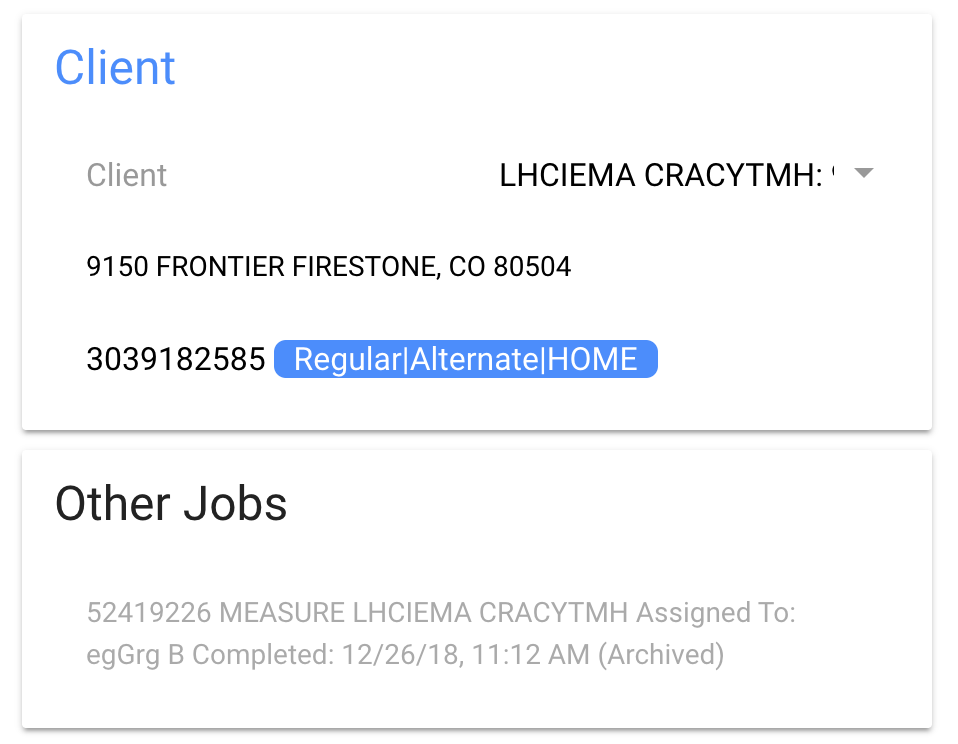
It contains the name of the client, any email addresses or phone numbers to reach them at, as well as their physical address.
Clicking on an email will open up a new email to that address. Clicking on a phone will call the number. And clicking on the physical address will link to a google maps page with the coordinates already punched in.
You can also click on the blue Client link to be taken to the Client page.
![]() Admins, just like the previous section, it is important to know that you can edit the linked client for each job. But you should only do this if you have a very good reason.
Admins, just like the previous section, it is important to know that you can edit the linked client for each job. But you should only do this if you have a very good reason.
Assigned to
This section tells you which installer this job is assigned to:
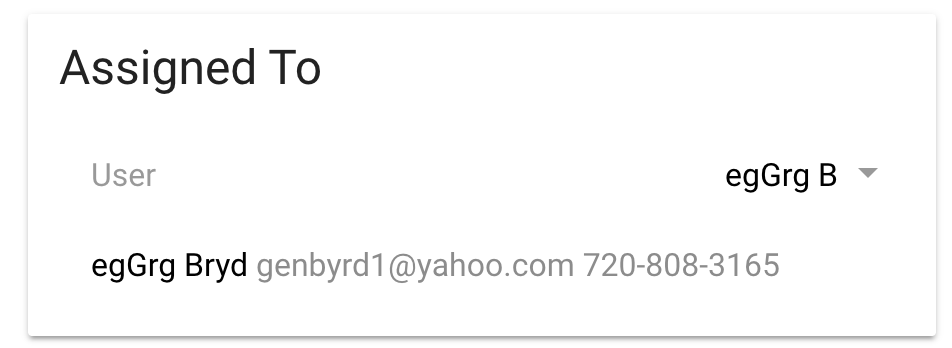
You can change who a specific job is assigned to, but then you should also consider reassigning the client to the new installer as well.
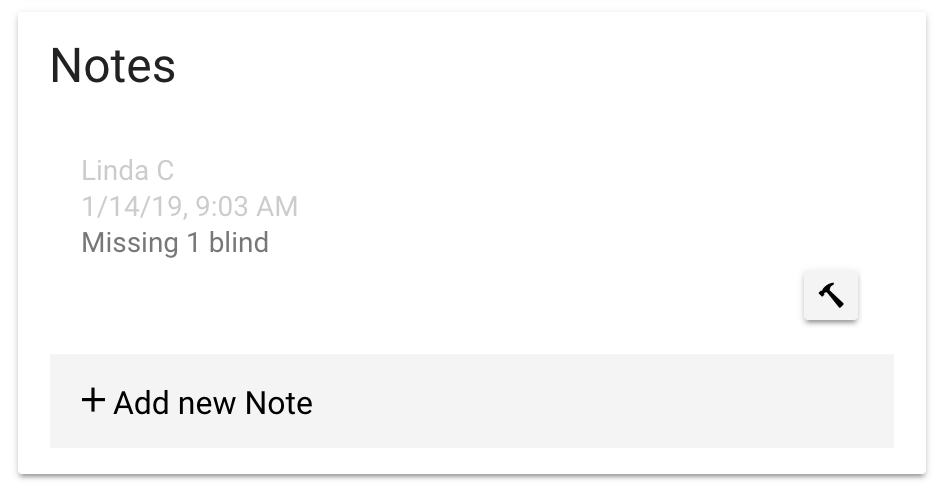
Notes
There are two notes section for each job:
 and:
and:
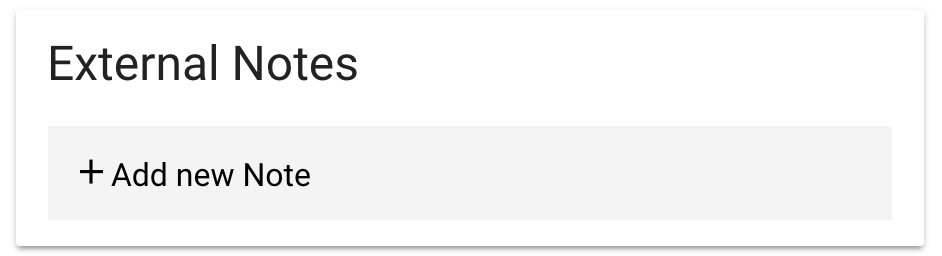
The Notes section can basically be called “Internal Notes” because it is just for communication between the installer and the administrator. The External Notes section links directly to the Home Depot Notes section and will update with new notes from Home Depot as they are made by Home Depot employees.
Correspondences
This section is for tracking communication between the client and the installer:
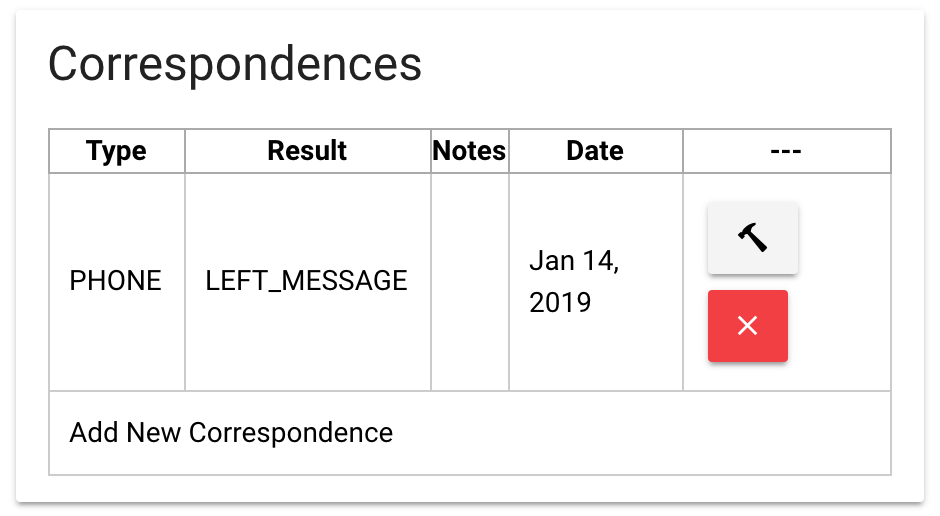
In some cases, it is ideal to keep track of when you called the client and whether or not you left them a message. This section allows you to track that information.
Measure-specific sections
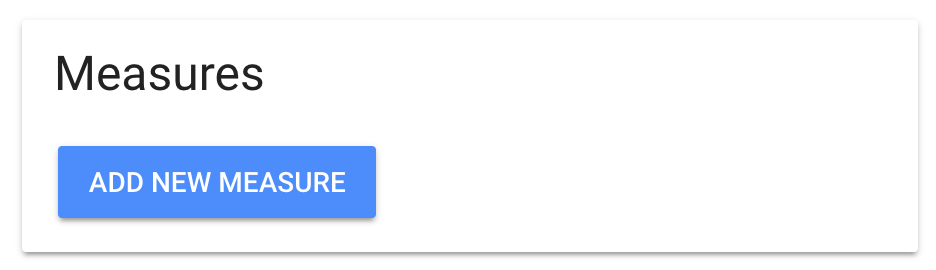
These sections require the Installer to fill them out. The first and most obvious on a Measure job is the Measure form:
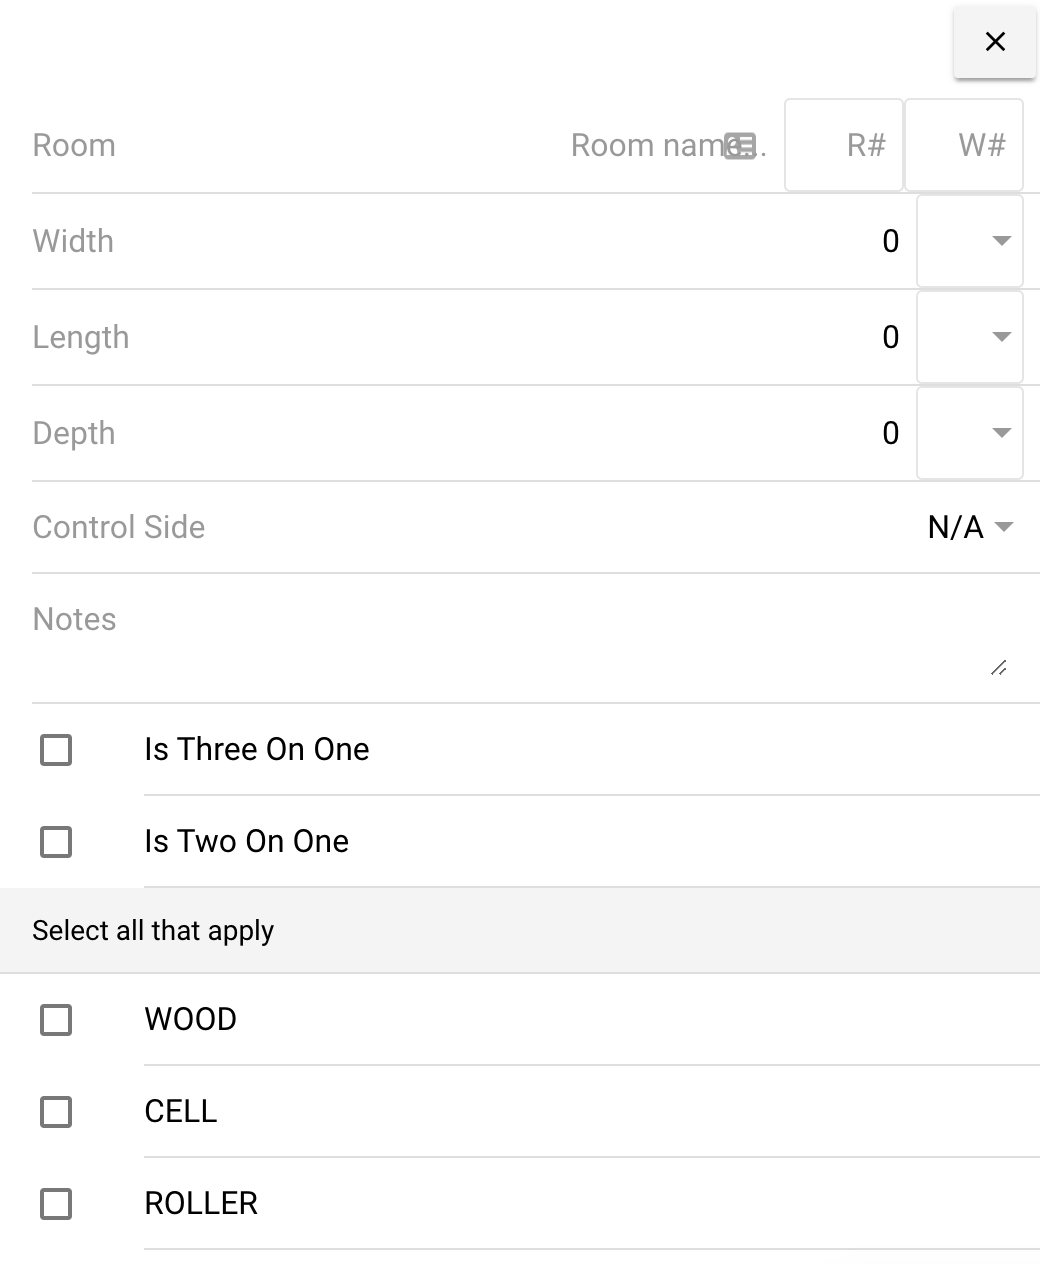
The measures will accumulate under the Measures section and will be uploaded as a part of a single pdf when the installer clicks the Mark As Completed button in the top right of the job page.
The Quote section is for filling out the Home Depot Quote form. The goal of this form is to help Home Depot employees fill out Install jobs with the correct number of products and install instructions. And just like the Measures section, it will be uploaded to Home Depot automatically when the Installer clicks the Mark As Completed button in the top right of the job page.

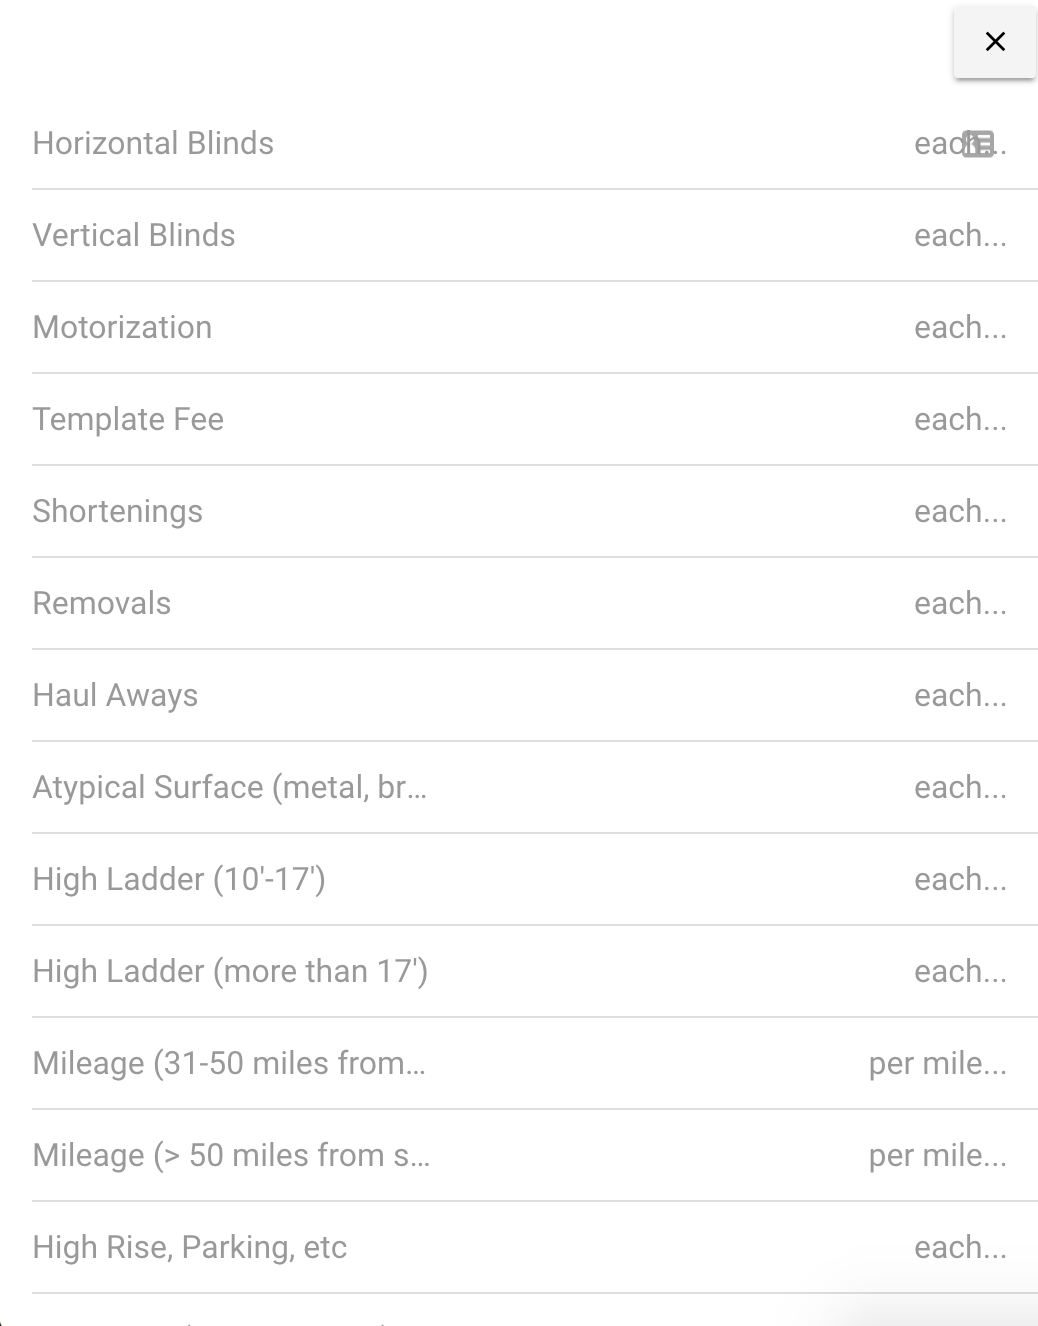
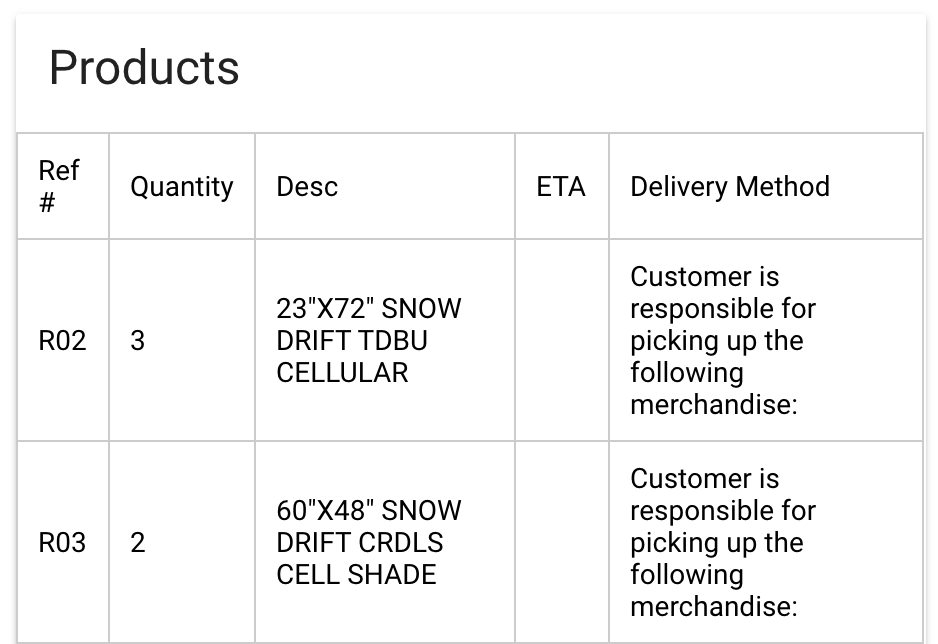
Install-specific sections
These sections will auto populate with the information from Home Depot when the job is ingested (manually or automatically). It describes the products and installation procedures required for this job.
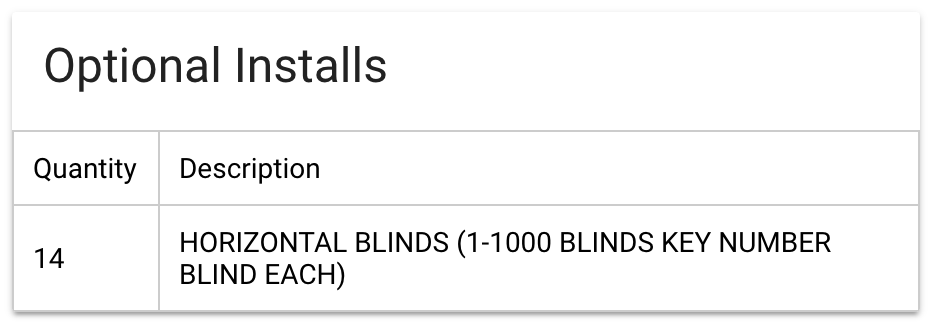
The Problems section is for filling out the Home Depot “Decor Problem Sheet” which details what might have gone wrong at the job site during installation.
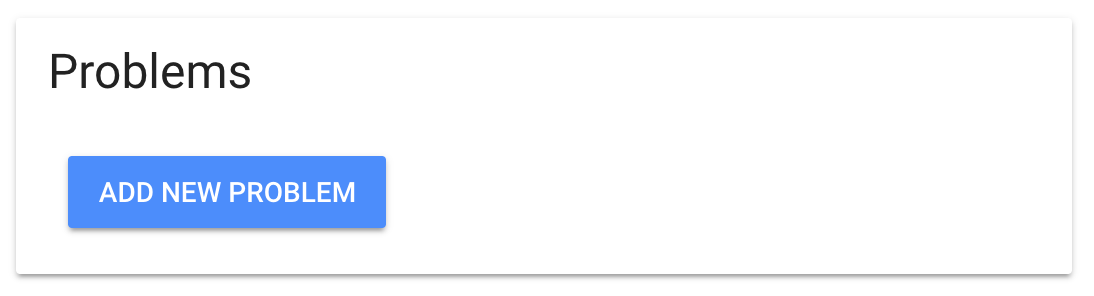
For example, one of the blinds was cut incorrectly and you cannot finish the job because the blind needs to be reordered. You would fill out one or more problems using the problems form.
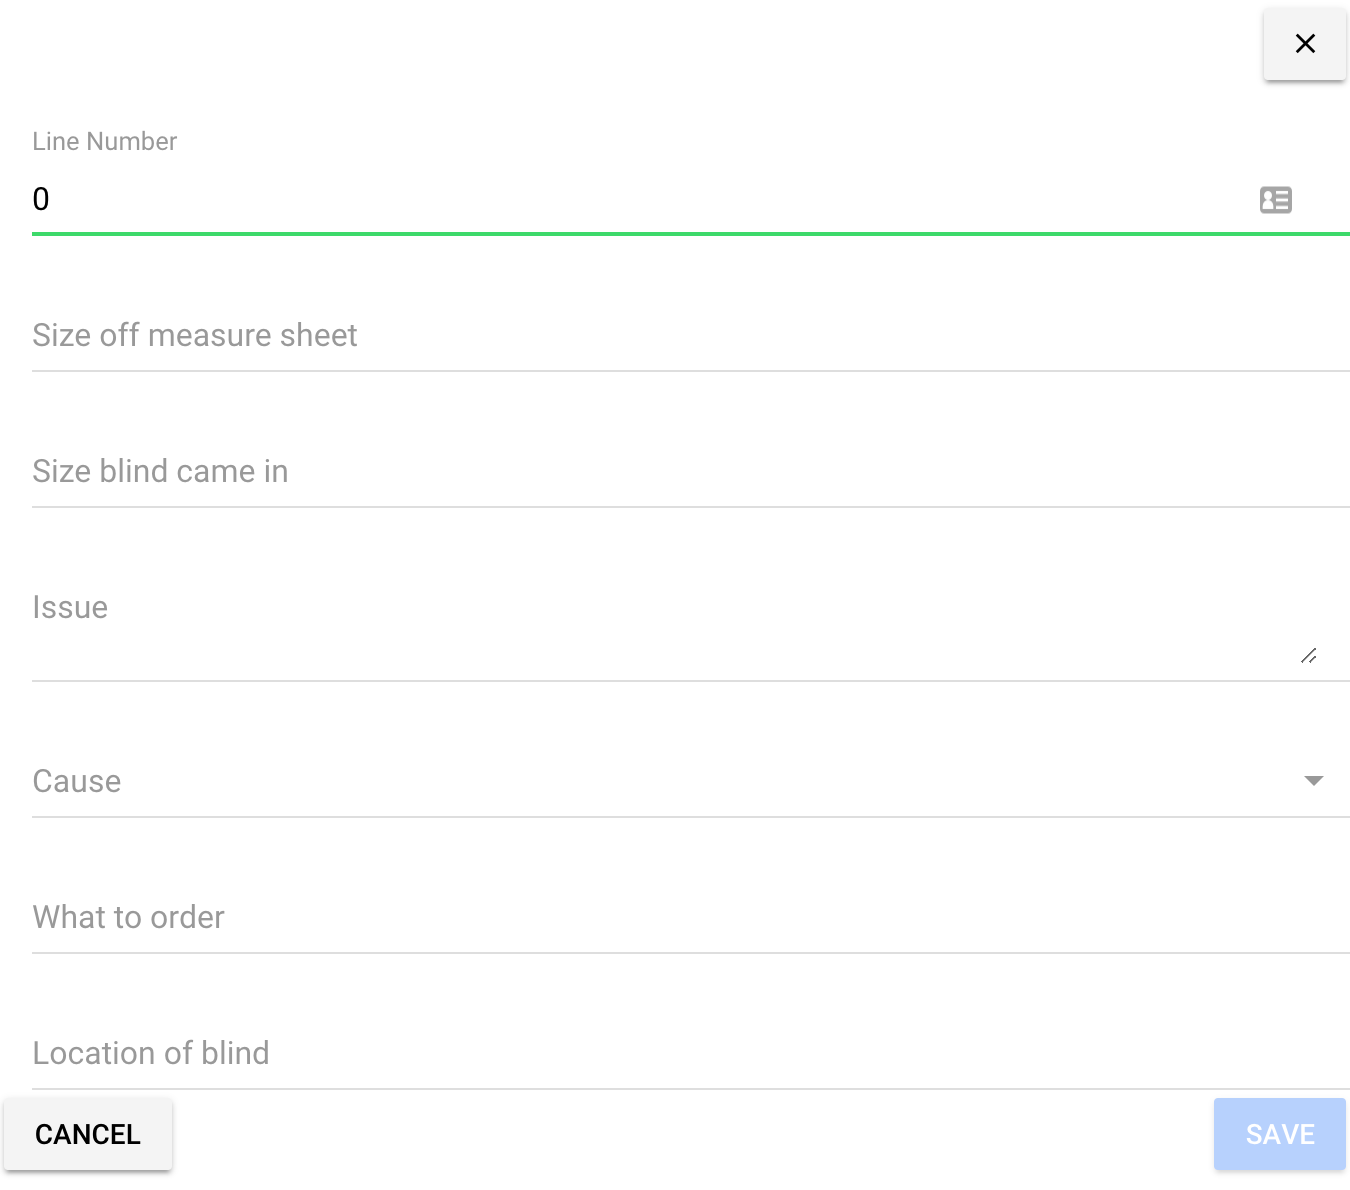
A pdf including all of the problems you fill out in this section will be automatically uploaded to Home Depot when the installer clicks the Mark As Completed button in the top right of the job page.
Form Downloads and Uploads
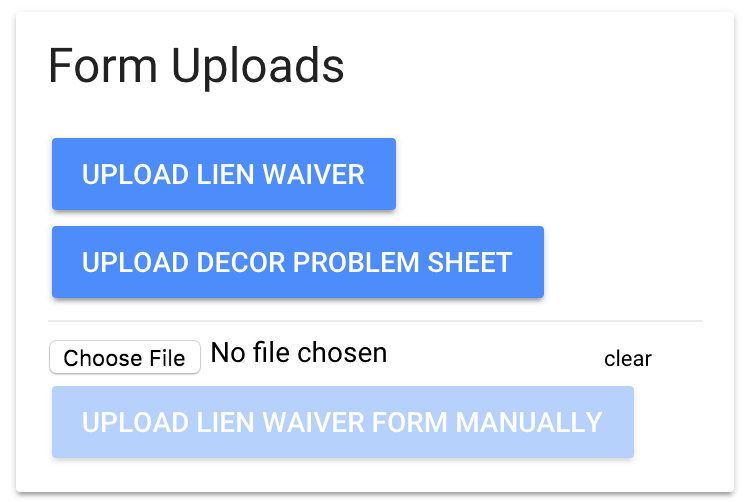
At any point, you can click the links in the form downloads to get a pdf copy of the form that will/has been uploaded to Home Depot.

If something goes wrong with the form upload, you can manually upload files directly to Home Depot using these buttons.
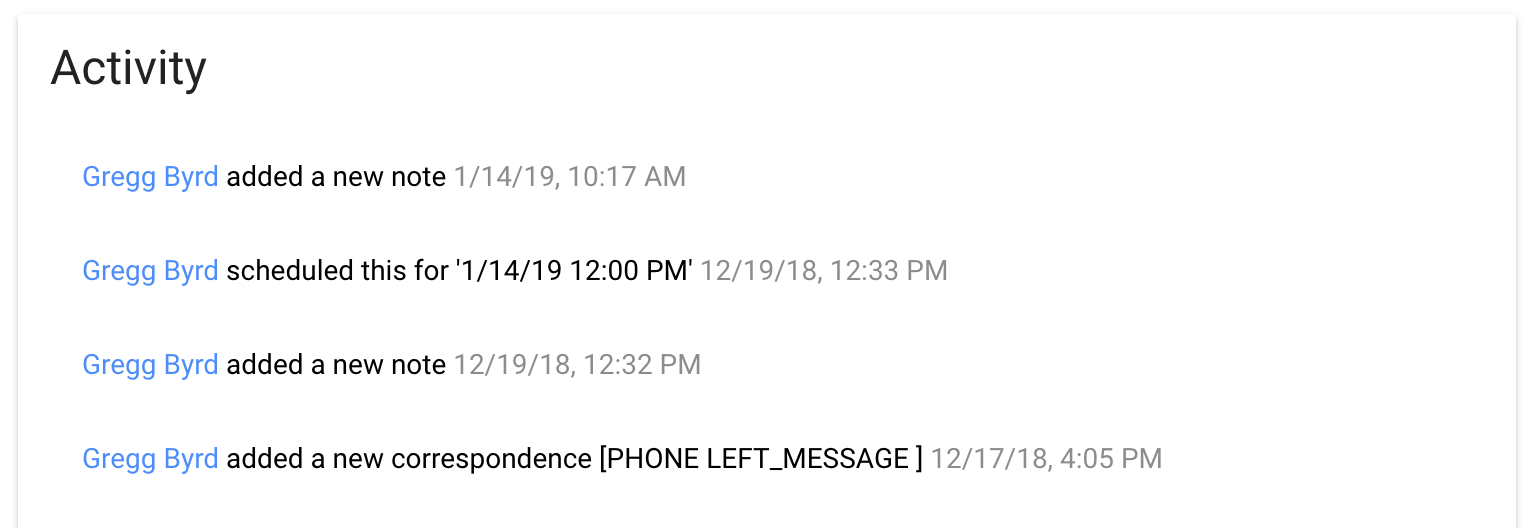
Activity
The activity section describes all of the changes and updates made to this job since it was first created.